
Many of you commented on my previous post saying that you would like to see a more in-depth post that explains how I gave my wig a messy appearance. As a result, I have decided to show you how I did that. The hair I use today comes from African maul, and if you want to learn how to continue watching, you should check it out.
Gentlemen, this is the longest hair length I have ever displayed on my head. I just stick it on my skin so that you guys can see what it looks like now. This transparent one does not match the color of my skin at all, but I can color it so that it does match my skin perfectly. Because of this, I prefer to use transparent lace these days because the hairline is already trimmed on the forehead, but in order to make it appear more natural, we will need to undergo some sort of tweed treatment.
At the very least, HD ought to be quite a bit thinner. It is less opaque and appears to have a more natural appearance. However, I believe that lace that is see-through has a very natural appearance. After that, I'll switch over to HD and watch some other content.
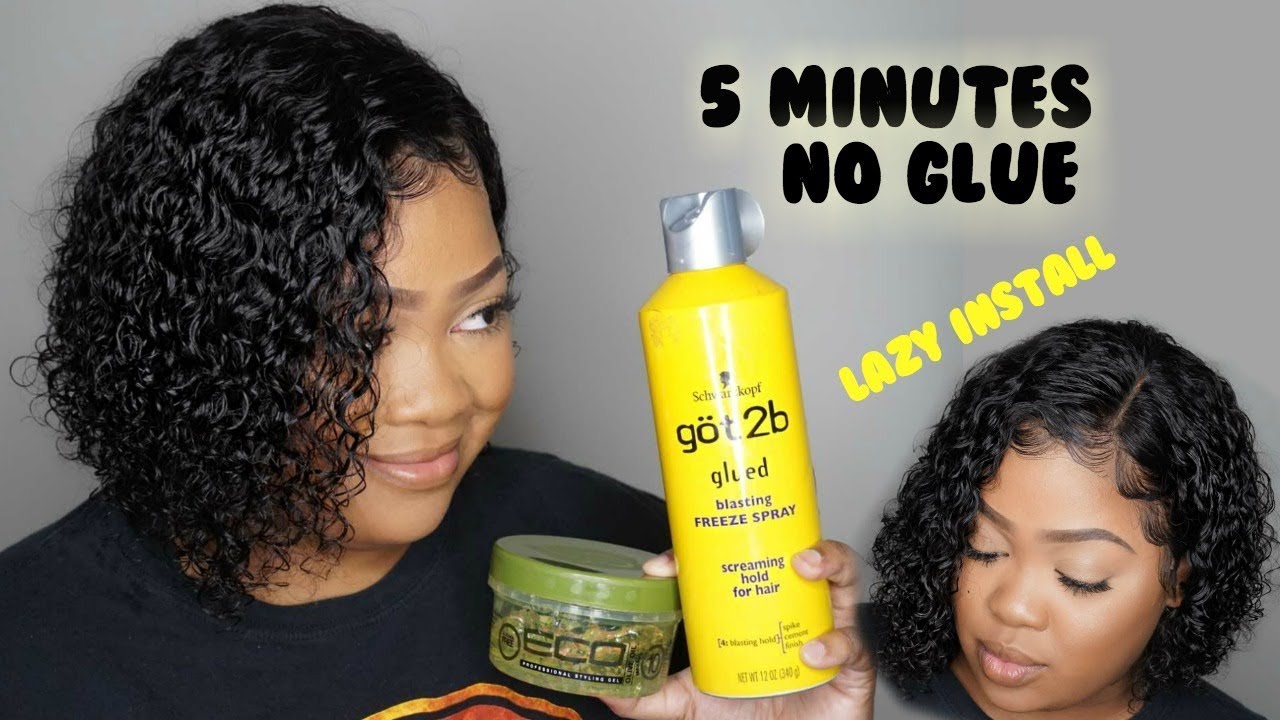
Therefore, I will demonstrate how to tie the knot. Because the knot is so visible on the front, we need to bleach it. However, when I have blond hair, I don't need to bleach it because the knot isn't visible. Therefore, I will take my L'Oreal Express Blue and my salon care cream developer and give them to you in exchange for your bowl. I am going to proceed with the cream developer now. You want it to keep getting thicker, and you don't want it to start getting thinner. My knot is somewhat thick, perhaps even somewhat excessively thick, but it makes no difference. It is more important to me that the knot not run than that it be made thicker. Now, I want to put some bleach on the middle of my forehead.
I put it to use in the same manner as this ice pop. Because you do not want it to cover your fingers, put it on the lace as smoothly as butter. He lied about this.
Therefore, I will keep it for the next half an hour. I'll put the camera away after a few minutes, when it's done, and then I'll wash the item. She has a very attractive appearance.
Now is the time to begin using tweezers; alternatively, do you despise walking? When I saw tweezers, I decided to purchase some very high-quality ones for myself. They are of excellent quality.
Because this is a pre-inserted forehead tweezer, the majority of forehead tweezers are still required. To ensure that the hairline appears more natural, you should hold onto your comb. This is a comb made from a mouse's tail, and it has sharp teeth.
Because some people's foreheads have thick hairlines, maintaining their hairstyles with tweeds requires a significant amount of time. This one isn't all that terrible. The thinness of the hairline is most noticeable behind the hairline. Because the hairline is so dense, I need to add some tweeds to the virgin hair factory if I want it to have a more natural appearance.
I also neglected to mention that prior to applying tweeds to your hair, you are required to ensure that your hair is wet; accordingly, I will take the water bottle into the bathroom with me in order to wet my hair. Because the tools before lace are wet and because I started to use tweed just after washing my hair, but make sure you have a water bottle beside you as you work. I forgot to mention this because the tools before lace are wet. You can continue to make some with tweed from the front if you really need to, but try not to create any ball points, so that your forehead looks like mine does now. This is the front and back that look thick, and it will look too heavy on my head, so this hairline looks much more realistic. I can guarantee you that when I make and wear a wig, it will look good. The objective is to keep your forehead from getting too rough and balding as a result of this. Because I want to keep making wigs, I put a dome-shaped net hat on my canvas head and follow the process that I've always followed to do so.
If you are unsure of your size, you should begin by measuring your head, and then proceed to measure yourself from the front to the back. If you feel the need to mark it, feel free to do so before I sell it to you, but I'm really not under any obligation to do so. As I previously mentioned, I am already familiar with my measurements, so I will proceed with the construction of my wig, and I will pull the front of it down. Some individuals will pull their virgin hair factory down to a length that is approximately one centimeter away from the wig blogs cap. Because I don't really have much forehead space to work with, people often comment that I don't have much forehead space to work with.
Because the majority of the content focuses on personalizing wigs, this section of the content will move at a slightly faster pace. I do have content that is accessible to novices and is very detailed. If you just subscribed, you haven't seen any of my content that's geared toward people just starting out.
After that, I will begin working with my needle and thread. Because I use a hook needle, which is very well suited for knitting and making wigs, my finished products are exceptionally comprehensive. This is the lace that I wore previously. I use a color that is completely beige, but you also have other options; therefore, I will apply it to my lace and then dry it with a virgin hair factory dryer in a relatively cool area. Because of this, my lace will match my skin tone exactly when I wear the wig, so I will do it the same way she did it now that she is done. It really takes some effort and some time to straighten the 13-inch wig blogs (clicking here) on your big house. So I made a small part. I simply ran the flat iron through her wig blogs to smooth it out.
She exudes an elegant and polished air about her. Regarding the manner in which I apply wigs while the camera is rolling, this is how she appears to me; the hairline is stunning, and as a result, I want to apply my Phantom Deer Lace Glue to it. I simply sprinkle it on the edge, and then I mix it in with my sponge. You should wait until the glue has dried before pulling down the shoelace, and since I provide a very detailed guide on how to use my wig, you should wait until the glue has dried before reading it. Yes, but first I have to use a flat iron, and then I put some China hair factory mousse on the surface of the hair. First, I apply foam to this area, and then I smooth out the wig. Therefore, there is nothing else left to add to this content, and I sincerely hope that you find it useful. I will catch up with you in the next content shortly. I love you so much.